How To Install Chromium on Ubuntu & CentOS
One of the browsers that is at the forefront of offering better features to users with low power consumption is Chromium and today we will analyze how to install it in CentOS and Ubuntu.
What is Chromium?
The Chromium project covers two utilities such as Chromium and Chromium OS, which are the open source projects of the Google Chrome browser and Google Chrome OS.
Chromium has been developed as an open-source browser project whose critical mission is to offer a more secure, faster and more stable way to navigate the web where threats are constant at every minute.
Install Chromium in Ubuntu 17
As a first step we will update the system by executing the following command:
sudo apt update
Once the system is upgraded, we proceed to run the installation of Chromium by executing the following command:
sudo apt install chromium - browser
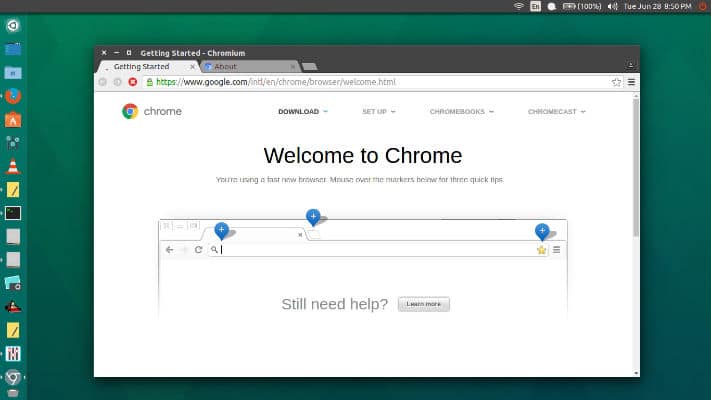
Once installed, we can access Chromium using one of the following options:
From the Ubuntu Search enter the term:
chromium
From the terminal, we will execute the command:
chromium-browser
Install Chromium on CentOS
Before starting the installation process, we will update the operating system packages by running the following command:
yum -y update
After upgrading the system, we will install the EPEL repository to obtain the subsequent installation of Chromium:
yum install -y epel-release
Once the EPEL installation process finishes, we will install Chromium by executing the following line:
yum -y install chromium
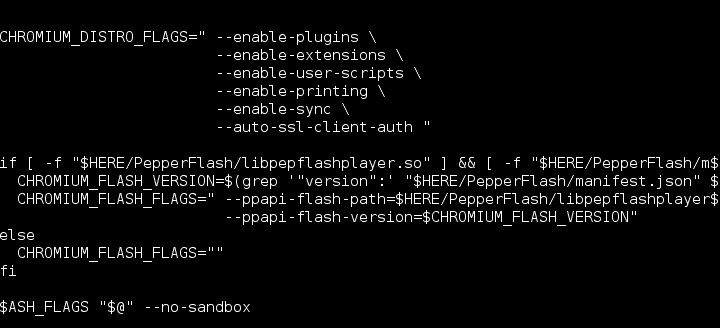
Once this process is finished we will access the Chromium configuration file using the vi or nano editor like this:
nano /usr/bin/chromium-browser
Add the next line to the end of the last line of code:
–no-sandbox
Save the changes using the following key combination Ctrl + O and exit the editor using Ctrl + X.
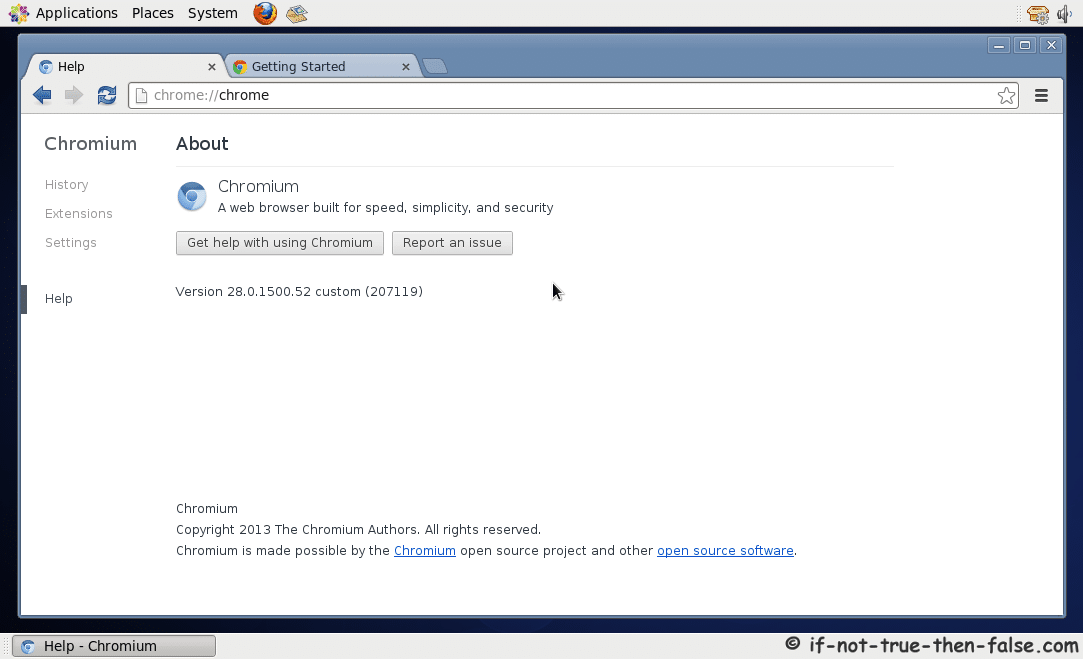
Now, it will be possible to access Chromium and take full advantage of its features: